linkki Tutorial
This is a step-by-step tutorial to implement a simple linkki application with Spring Boot.
The goal of this tutorial is to create a simple web application that manages information about business partners. In this context, a business partner is a person interacting with a company in some way.
After finishing the tutorial, you will be able to use the application to search for partners in a repository. In addition, you will be able to display and edit basic and address information of a partner.
The application
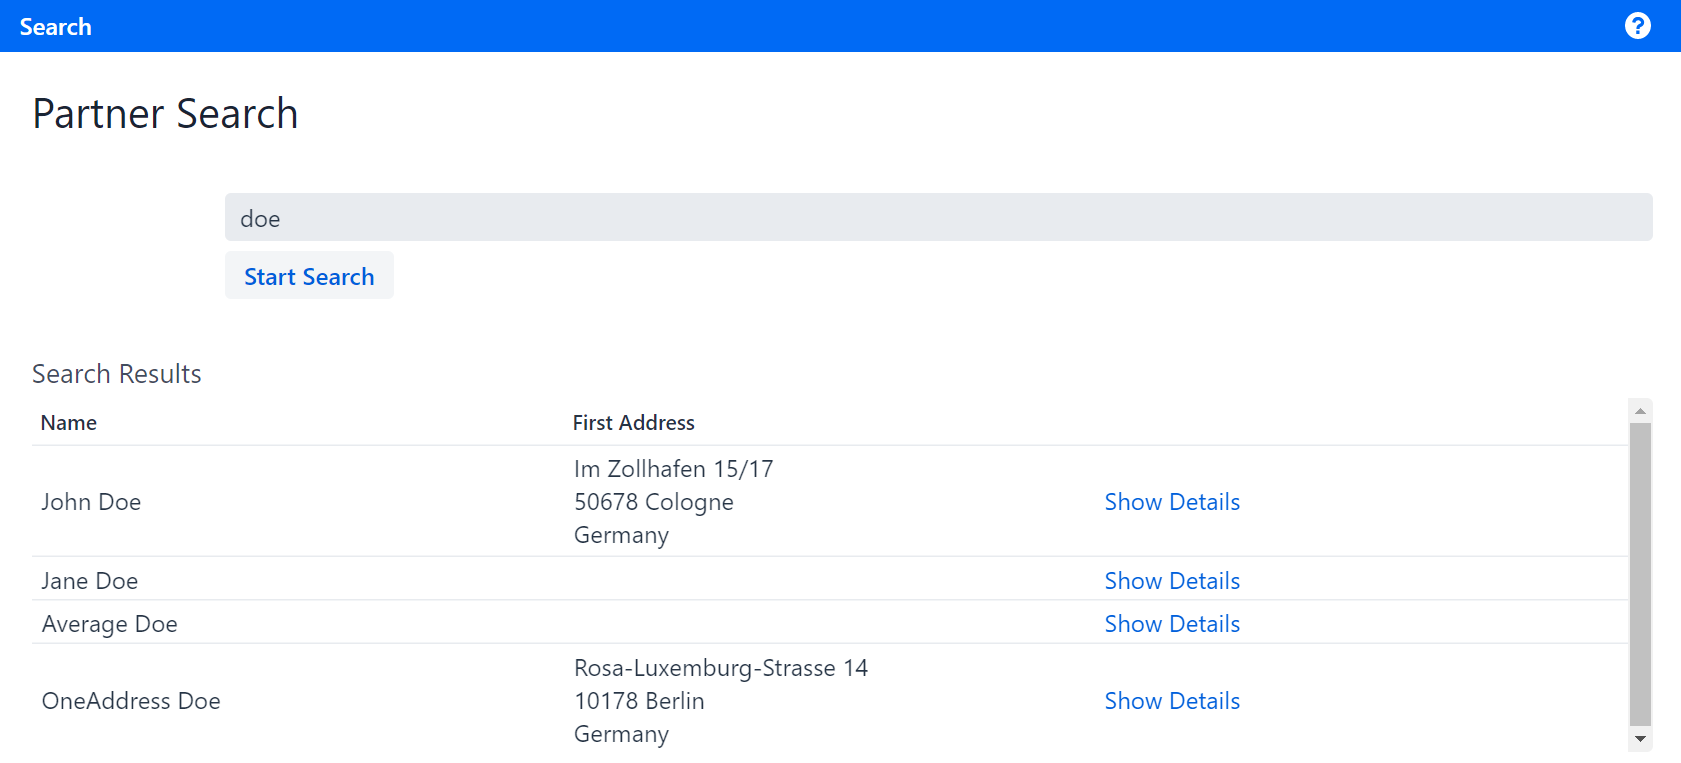
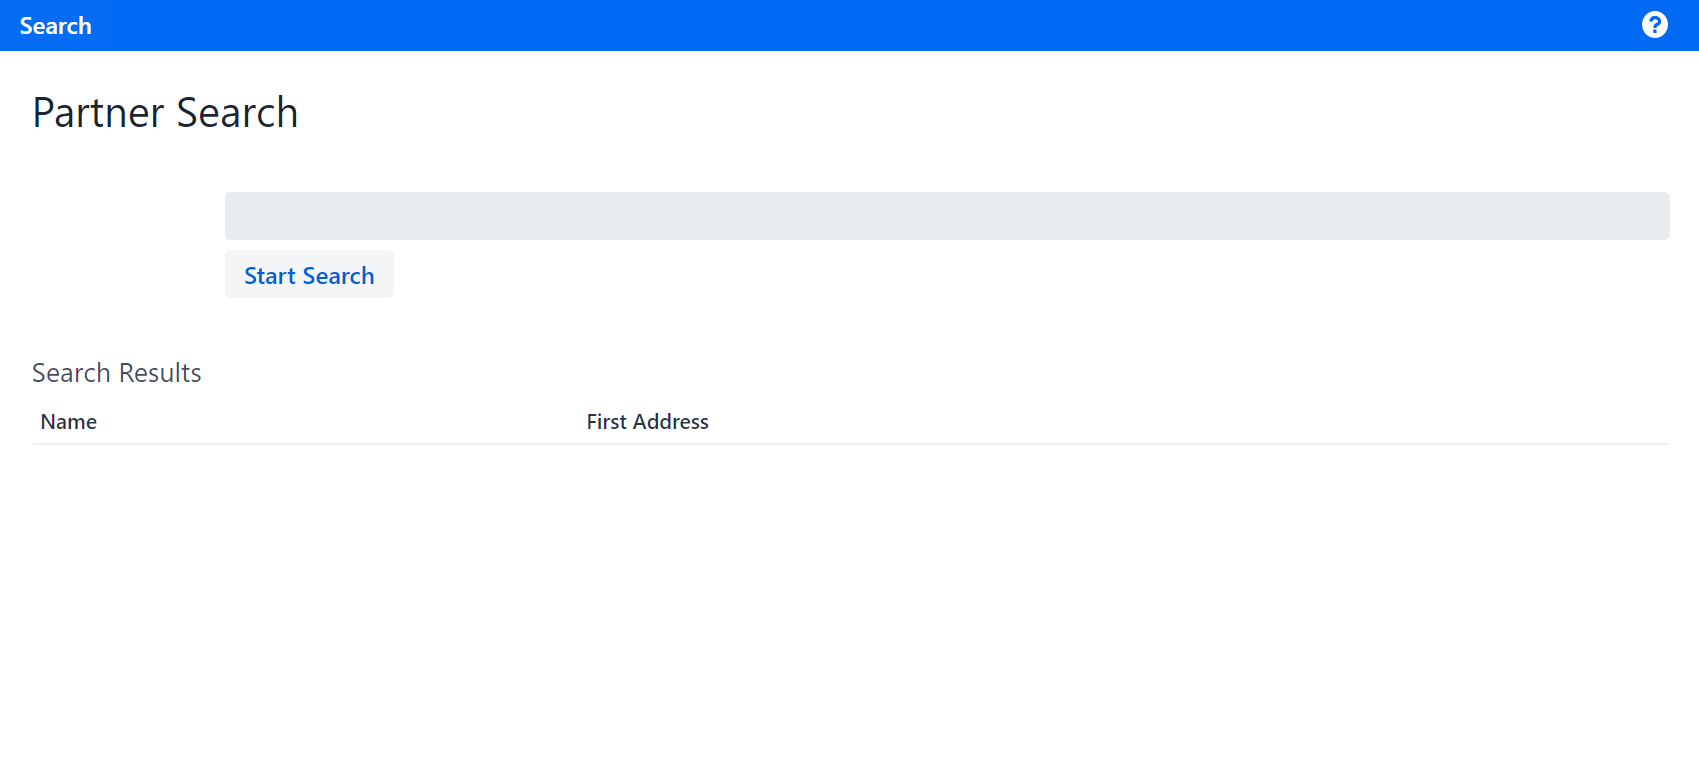
The sample application opens with a main view that allows searching for business partners. The user can type in search text and find matching partners by clicking on the search button. The partners found by the search will be listed in a "Search Results" table. Each row shows the name of a partner, their first address, and a link labeled "Show Details".

Clicking on "Show Details" opens that partners' detail view, presenting information about them. On the left border, a tab bar allows switching between different information categories. The first page displays the "Partner Details" section, containing general information such as name and date of birth.

The second sheet lists the partner’s addresses in a table. Users can add new addresses by using the plus button in the table header, and delete an existing address by using the trash can button in the row of the respective address.

If the user searches for an non-existing partner, an error page will be displayed.

The application’s menu bar allows the user to navigate from the partner detail view back to the search view via a button labeled "Search".

Index
- Domain Model
- Project Setup
- Step 1: Search Bar
- Step 2: Search results table
- Step 3: Implementing a new View with LinkkiTabLayout
- Step 4: Menu items
- Step 5: UIDateField, UIComboBox & UITextArea
- Step 6: Filling the AddressPage with Model Binding
- Step 7: Modify UI behavior
- Step 8: @SectionHeader
- Step 9: Dialogs
- Step 10: Validation
