@Theme(value = "sample")
@Widgetset("com.vaadin.v7.Vaadin7WidgetSet")
@PreserveOnRefresh
public class SampleApplicationUI extends LinkkiUi {

    private static final long serialVersionUID = 1L;

    public SampleApplicationUI() {
        super(new SampleApplicationConfig());
    }

    @Override
    protected void init(VaadinRequest request) {
        super.init(request);
        addView(MainView.NAME, MainView.class);
    }

}Application Framework
UI
To create a Vaadin application you need to subclass UI. Using the linkki application framework you get a default implementation called LinkkiUi which handles the UI setup. The actual UI implementation is configured in your servlet using @VaadinServletConfiguration. To provide some views you could simply subclass LinkkiUi and use the addView(…) method or addProvider(ViewProvider)(for example with Vaadin’s CDIViewProvider) as you need. The LinkkiUi uses the ApplicationConfig to configure various aspects.
You can see an example in the following SampleApplicationUI:
The LinkkiUi offers methods that can be overridden to configure some Vaadin features, such as configureNavigator and configureErrorHandler.
Configuring the Navigator
To configure the navigator, override LinkkiUi#configureNavigator(ViewDisplay), e.g.
@Override
protected void configureNavigator(ViewDisplay applicationLayout) {
  setNavigator(new MyNavigator(this, applicationLayout));
}
Using CDI
@Inject
private CDINavigator cdiNavigator;

@Override
protected void configureNavigator(ViewDisplay applicationLayout) {
  cdiNavigator.init(this, applicationLayout);
  setNavigator(cdiNavigator);
}
Using Spring
private final SpringNavigator springNavigator;

@Autowired
public MyUI(SpringNavigator springNavigator) {
  super(new MyApplicationConfig());
  this.springNavigator = springNavigator;
}

@Override
protected void configureNavigator(ViewDisplay applicationLayout) {
  springNavigator.init(this, applicationLayout);
  // no need to set the navigator as that is done by Vaadin-Spring
}
Application Configuration
The main aspects of the application are configured using the ApplicationConfig. This interface needs to be
implemented once in every linkki application and provided to the LinkkiUi. Next to some constants like name and version it configures the following parts:
-
The application layout which is the main UI component and contains the current view
-
Possible converters to convert values between UI and underlying model
Components
The linkki application framework contains the following components:
Application Layout
The application framework includes an ApplicationLayout that surrounds the main view with an ApplicationHeader and an optional ApplicationFooter.
The header is designed to have multiple menu actions on the left and may have some specific items like help menu or preferences on the right side.
The footer is hidden by default and can simply contain some application info or be extended to fit your needs.
Between ApplicationHeader and ApplicationFooter is the main area that displays your current View.
The ApplicationLayout is created using the ApplicationConfig’s `createApplicationLayout() method, which by default includes an ApplicationHeader(created using getHeaderDefinition()) with an ApplicationMenu containing all items provided by getMenuItemDefinitions(). The per default hidden ApplicationFooter can be created using getFooterDefinition().
Sidebar Layout
The SidebarLayout is a UI component that gives access to several different views.
On the left there is a vertical bar containing icons (buttons) for every sheet. The tooltip of the button displays the name of the corresponding sheet. The content of the selected sheet is displayed to the right of the bar.
In order to create a sidebar instantiate the SidebarLayout and add SidebarSheets. Every sheet requires an icon, a name and a content. It is also possible to provide a Supplier<Component> that is called when the sheet is selected for the first time (lazy initialization). This approach is useful if the creation of the content is more complex and/or if the sheet might be rarely visible.
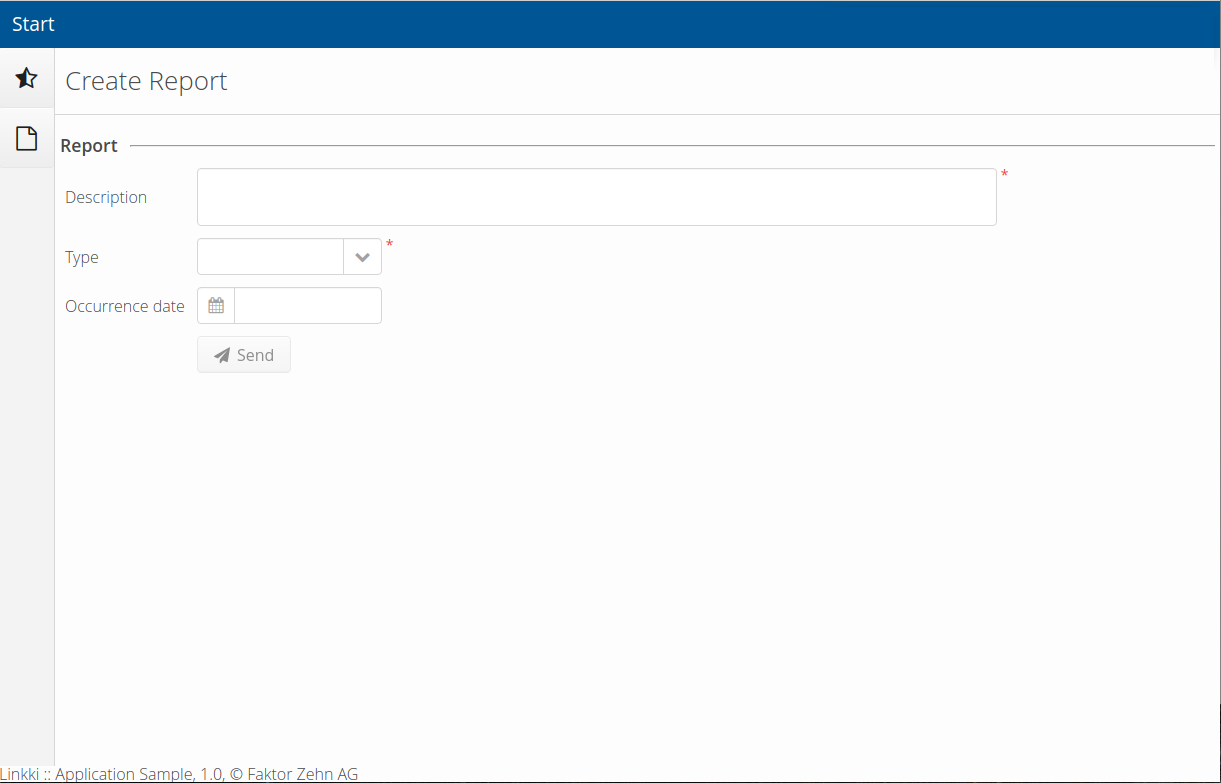
Additionally you can supply a UiUpdateObserver that is triggered every time the sheet is selected, that means it gets visible. Use this observer to update your binding context in case of changes to the underlying model while the sheet was not selected. Our sample application contains a sidebar layout with two sheets that highlights the utility of that approach. The second sheet displays a list of reports which are created on the first sheet. Thus the second sheet needs to be updated every time it is selected because the underlying data might have changed in the meantime.
        addSheets(new SidebarSheet(VaadinIcons.STAR_HALF_LEFT_O, "Create Report", createReportLayout()),
                  new SidebarSheet(VaadinIcons.FILE_O, "Report List", this::createReportListLayout, this::update));
private VerticalLayout createReportLayout() {
VerticalLayout layout = new VerticalLayout();
layout.setMargin(false);
layout.setSpacing(true);
layout.addComponent(new Headline("Create Report"));
ReportPage page = new ReportPage(reports::add);
page.init();
layout.addComponent(page);
return layout;
}Headline
For every sheet it is useful to have a headline that describes the current content. It natively has a headline caption and could be extended by subclasses.
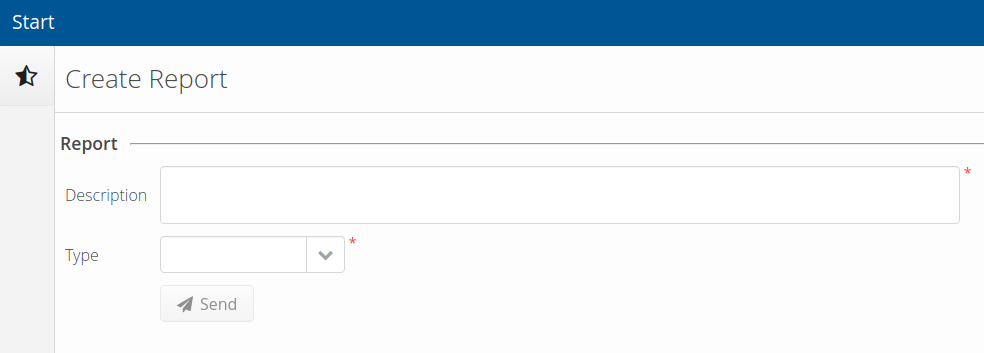
To use a Headline simply instantiate and add the component to your content.
layout.addComponent(new Headline("Create Report"));If you want the Headline’s title to be updated dynamically, you can also bind it to a PMO. To do so, create a PMO containing a corresponding getter method for Headline#HEADER_TITLE:
public class HeadlinePmo {

    private List<Report> reports;

    public HeadlinePmo(List<Report> reports) {
        this.reports = reports;
    }

    public String getHeaderTitle() {
        return "Report List - Existing reports: " + reports.size();
    }

}
Then bind it with the headline:
new Binder(headline, new HeadlinePmo(reports)).setupBindings(getBindingContext());